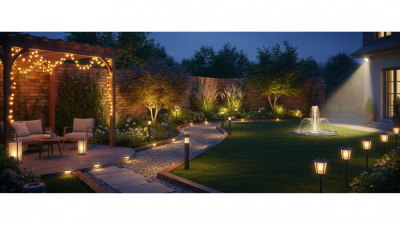
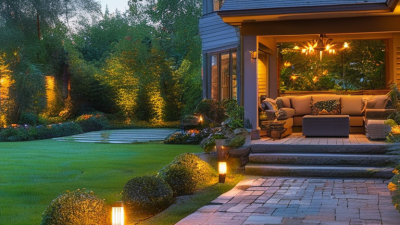
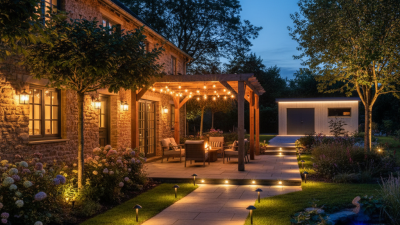
10 Tips for Choosing the Best Outdoor Lights?
Choosing the right Outdoor Lights involves more than comparing brightness, finishes, and prices. Your garden, entryway, patio, and driveway each need a different lighting approach. A warm wall light may welcome guests beautifully, while a harsh floodlight can make a small yard feel exposed. Weather resistance, installation height, beam angle, energy use, and maintenance all deserve careful attention.
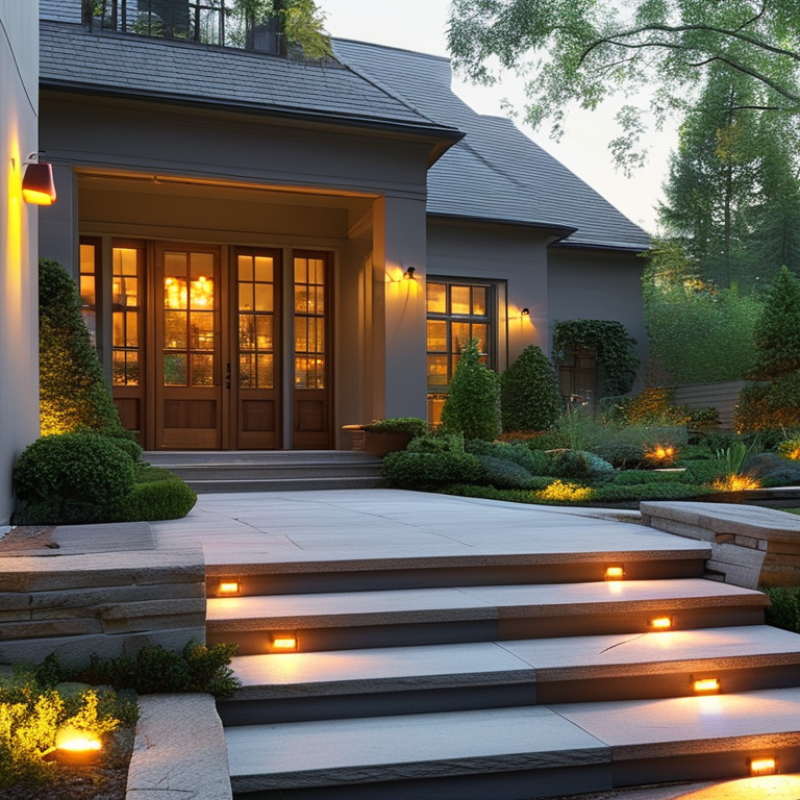
Janet Lennox Moyer, a respected landscape-lighting author and educator, offers a useful principle: “Good outdoor lighting should guide attention, not compete with the landscape.” This idea shapes the ten practical tips in this guide. We will examine how to match fixtures with your property, choose suitable color temperatures, and avoid common placement mistakes. A 2700K light can make stone steps feel inviting. However, it may look too yellow beside cool gray siding. Small details matter.
Real projects rarely become perfect on the first attempt. I once underestimated glare from a low pathway fixture, and the light felt uncomfortable from the porch. That mistake taught me to test fixtures after sunset, not only in daylight. We will also consider safety, smart controls, drainage, and long-term durability. Certification labels and professional installation remain important, especially near wet areas. The goal is not the brightest yard. It is a safer, calmer, and more intentional outdoor space.
Assess Your Outdoor Lighting Needs and Installation Areas
Before choosing outdoor lights, walk through the property after sunset. Note dark steps, narrow paths, entrances, driveways, and seating areas. Observe where people actually move. A bright fixture near a bedroom window may solve one problem and create another.
Measure each installation area, including mounting height and available power access. Paths usually need gentle, even light rather than harsh pools. Entrances benefit from clear illumination around locks and faces. Decks require careful placement to avoid glare across the seating area. Check whether walls, trees, soil, or roof edges will block the beam. It is easy to underestimate distance.
Match every fixture to its environment. Wet locations need suitable weather protection and sealed connections. Coastal air, dust, and heavy rain can shorten service life. Confirm voltage, cable routes, drainage, and local electrical requirements before installation. A qualified electrician should handle fixed wiring and unfamiliar circuits. Do not place cables where mowers, pets, or standing water can damage them.
Try temporary placement first. Use low-cost test lights or covered lamps for one evening. Walk the route from different angles. You may discover that a light aimed at the ground feels safer than one aimed outward. My first layout would probably include too many fixtures. That is a useful warning. More light does not always mean better visibility. Consider timers, motion sensors, and manual controls based on household routines. Test them during rain, late-night arrivals, and quiet mornings.
Compare Light Types, Brightness, Color, and Beam Coverage
Choosing the Best Outdoor Lights: Compare Light Types, Brightness, Color, and Beam Coverage
Start with the light type. LEDs suit most outdoor areas because the U.S. Department of Energy reports that they use at least 75% less energy and last up to 25 times longer than incandescent lamps. Solar fixtures work well along paths, but shade and winter weather can reduce their output. Halogen lights produce warm, strong light, although their heat and energy use deserve careful consideration.
Measure brightness in lumens, not watts. A small entryway may need 300–800 lumens, while a driveway often needs 1,000–2,000 lumens, depending on mounting height and surface reflectance. These ranges are practical starting points, not fixed rules. I still sometimes overestimate brightness on pale concrete. Dark stone absorbs more light. Choose a warm 2700–3000K color for seating areas, and consider 3500–4000K for security visibility. Check CRI, preferably 80 or higher, when accurate colors matter. IES guidance and TM-30 methods offer more useful color evaluation than color temperature alone.
Beam coverage changes the result dramatically. Narrow beams highlight trees or signs; wide beams spread light across steps and walls. Aim fixtures downward to reduce glare and unwanted spill. Verify the IP rating under IEC 60529, especially near sprinklers or coastal air. Add motion sensors or timers to limit waste. The U.S. Department of Energy also identifies controls as an important part of outdoor lighting efficiency. Test one fixture after dark before buying ten. That small test can expose poor coverage, harsh color, or a disappointing shadow pattern.
10 Tips for Choosing the Best Outdoor Lights
Compare light types by typical brightness and beam coverage. Use warmer color temperatures for comfort and lower glare, and choose wider beams for general areas or narrower beams for focused accents.
How to read the chart: Pathway and string lights provide softer illumination, while wall lanterns and floodlights deliver more usable brightness. Beam angle indicates coverage: wider angles spread light across larger areas, while narrower angles create a more focused effect.
Color guidance: 2200–2700K creates a warm, relaxing appearance for patios and pathways; 3000K provides balanced outdoor visibility; 4000K or higher appears cooler and is best reserved for security or task lighting where higher visual contrast is needed.
Check Weather Resistance, Energy Efficiency, and Smart Features
Outdoor lights face rain, dust, salt, and sudden temperature changes. Begin with the enclosure rating, not its appearance. Under IEC 60529, IP65 means dust-tight protection and resistance to water jets. IP67 adds temporary immersion protection, useful for low garden fixtures. Tip 1: Match the rating to the location. Covered does not mean dry. Condensation can still reach seals after repeated cooling and heating.
Tip 2: Check energy data, not only wattage. The U.S. Department of Energy reports that LEDs use at least 75% less energy and last up to 25 times longer than incandescent lamps. Check measured lumens, color temperature, and rated lifetime. An efficient lamp with poor light distribution can still waste energy. ENERGY STAR guidance also stresses verified performance and control compatibility. I would not trust a low-wattage claim without a published test method.
Tip 3: Choose smart controls that solve a real problem. Motion sensing suits pathways, while astronomical schedules suit entrances. Daylight sensors can stop porch lights glowing at noon. DOE connected-lighting research identifies occupancy sensing and scheduling as important energy-saving strategies. Prefer local manual control, clear privacy settings, and offline operation. Connectivity is convenient, but it is not automatically efficient. Test the app at the installation point. Some systems promise simplicity, yet setup becomes the weakest link.
Set a Budget and Choose Lights with the Best Overall Value
Set a realistic budget before comparing outdoor lights. Include fixtures, wiring, installation, replacement parts, and future electricity costs. The cheapest purchase can become expensive when seals fail or bulbs need frequent replacement. The U.S. Department of Energy reports that LED lighting uses up to 90% less energy and can last up to 25 times longer than incandescent lighting. That difference matters beside a driveway, where lights may operate every evening.
Tip 1: Compare total ownership cost, not shelf price.
Tip 2: Choose efficient LEDs with suitable brightness, color temperature, and weather protection. A bright light is not automatically safer or better.
Tip 3: Check the product’s rated life and warranty details.
Tip 4: Select timers, photocells, or motion sensors carefully. They can reduce unnecessary operating hours, but poor placement may cause repeated switching.
ENERGY STAR guidance also recommends choosing efficient, durable lighting and avoiding excessive brightness. Small savings add up.
Look for independent performance data, such as lumen output, wattage, ingress protection ratings, and tested lifetime. The Illuminating Engineering Society recommends evaluating lighting by measurable performance rather than appearance alone.
In my experience, a warm 2700–3000K light often feels more comfortable near patios, while cooler light can reveal detail but appear harsh. I still sometimes overestimate brightness. That mistake wastes money and creates glare.
Leave room in the budget for professional installation when circuits, mounting height, or drainage are uncertain. A dependable light with moderate output may deliver better overall value than an impressive fixture that needs early replacement.